

Odoo allows you to manage multiple companies within the same Odoo instance. This is very useful for scenarios where there is a parent company with many companies under it. Or in the case of a group of companies each with different products, services, warehouses, and customers. This article outlines how to set up a child company under a parent company in Odoo.
Step 1: Create a New Company
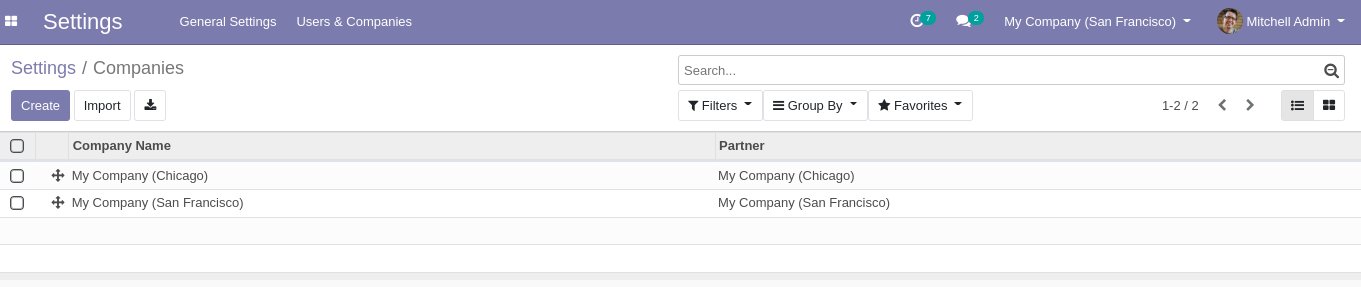
To create a new company in Odoo, go to "Settings" on the main menu. Under "Companies", click on "Manage Companies". This will display a list of all companies that exist within this Odoo instance as shown below.
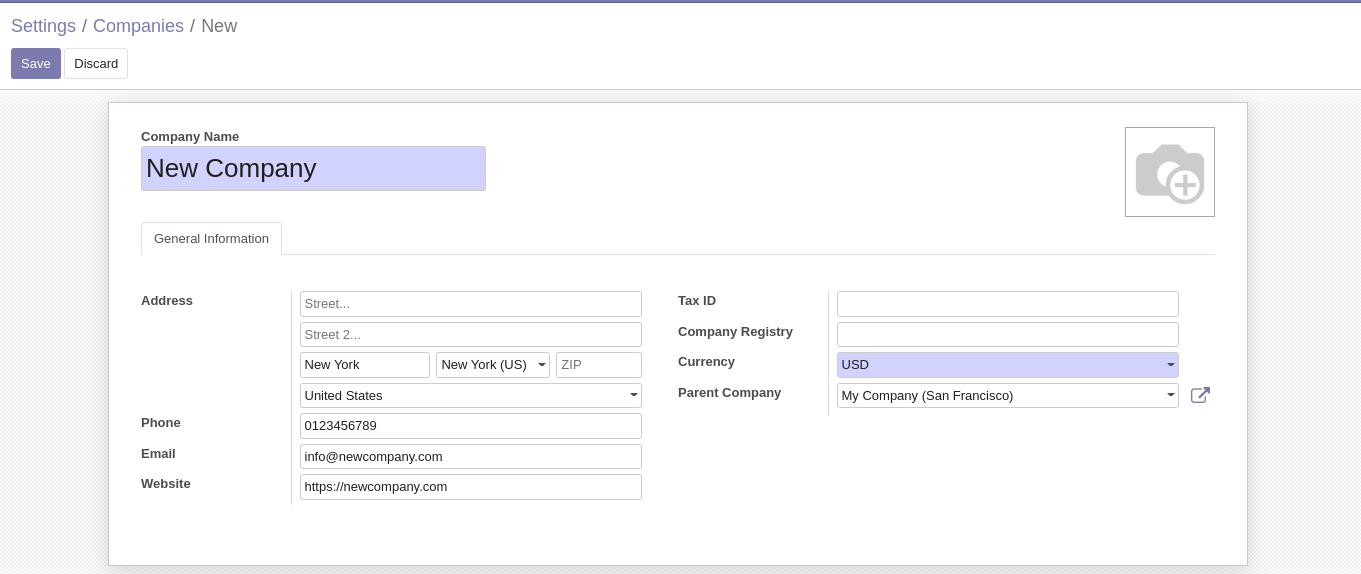
 Click on the "Create" button to bring up the new company dialogue as shown below. Fill out the form with the details of the new company then click on "Save". Note that I have set the parent company of this new company to one of the already existing companies. To create a child company, it is advisable to create the parent company first.
Step 2: Configuring Users
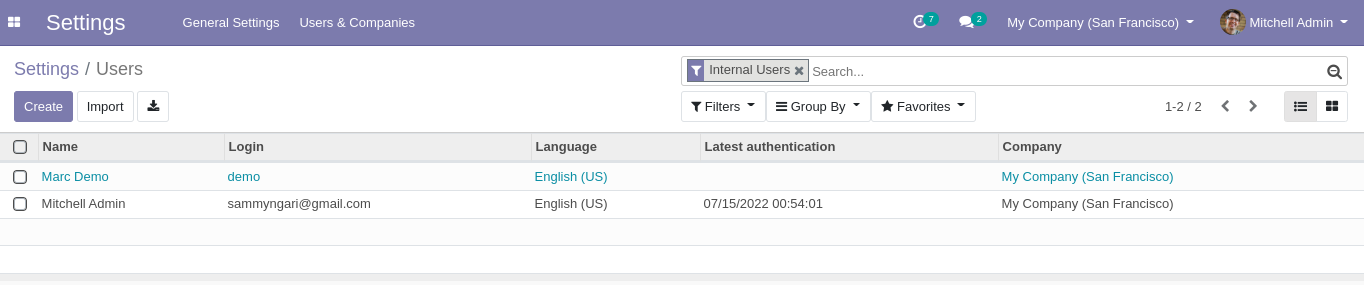
After creating a new company, you may need to create new users for that specific company. You can also allow users to have access to multiple companies. To do this, either create a new user or view an existing user. Go to "Settings" on the main menu. Under "Users", click on "Manage Users". This will display a list of all users that exist within this Odoo instance as shown below.
Click on the user you want to be able to access the new company. If the user does not exist, create the new user first. You will see the User page as shown below. Click on "Edit" on the top right-hand side of the page to be able to edit the user data.
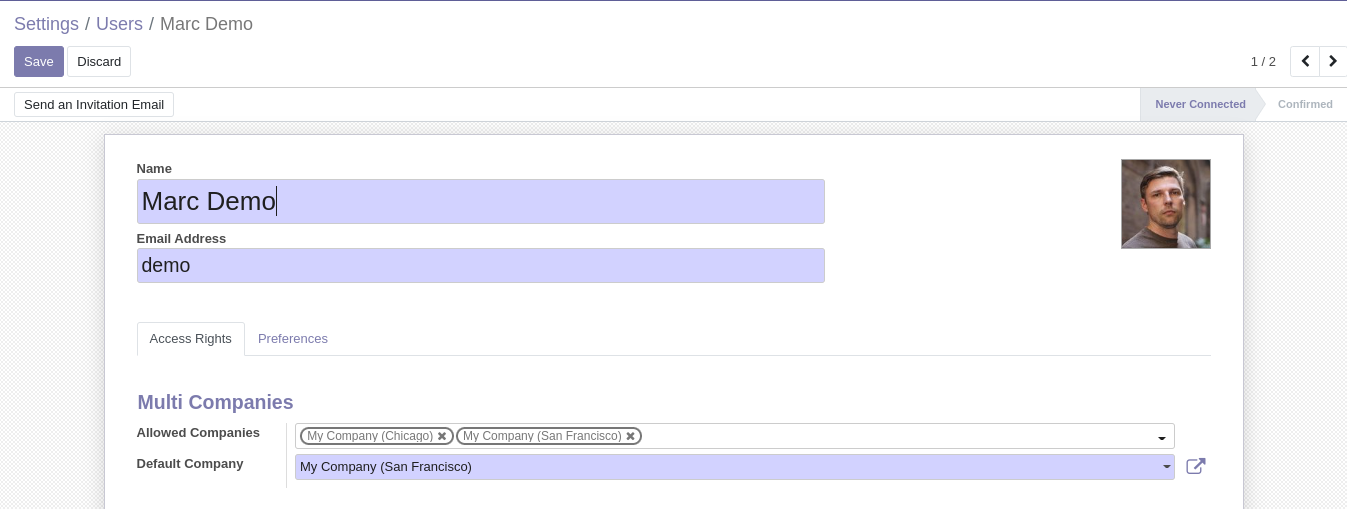
Under the "Multi Companies" section, the "Allowed Companies" field allows you to add and remove the companies that this user can access. Click "Save" when you are done configuring the allowed companies for this user. You can do this for every user to ensure that all the users have the correct company access in a multi-company setup.
Step 3: Configuring Products
In a multi-company setup, you will need to determine which products belong to which company. This allows you to restrict the sale, purchase, manufacture, or warehouse move of this product is handled within one company. To assign a product to a company, go to Inventory -> Master Data -> Products to display all the products in your Odoo database as shown below.
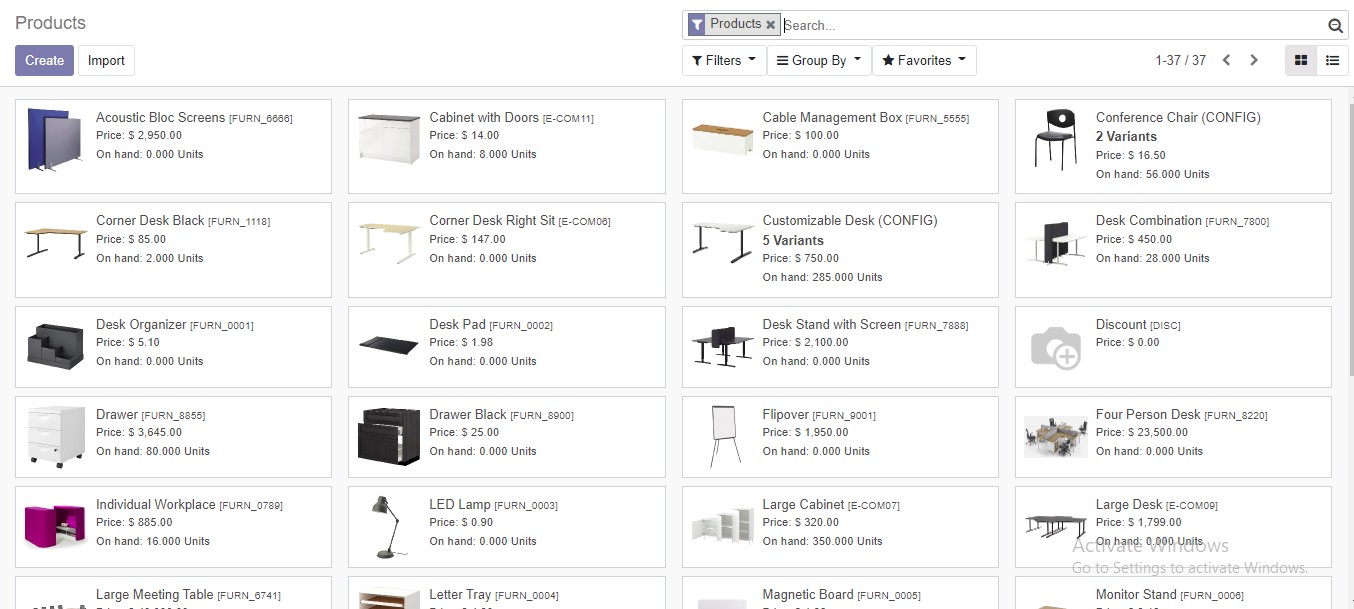
Search for the desired product and click on it to display the "Product Detail" page as shown below. Click on "Edit" on the top left-hand side of the page to make changes to the Product.
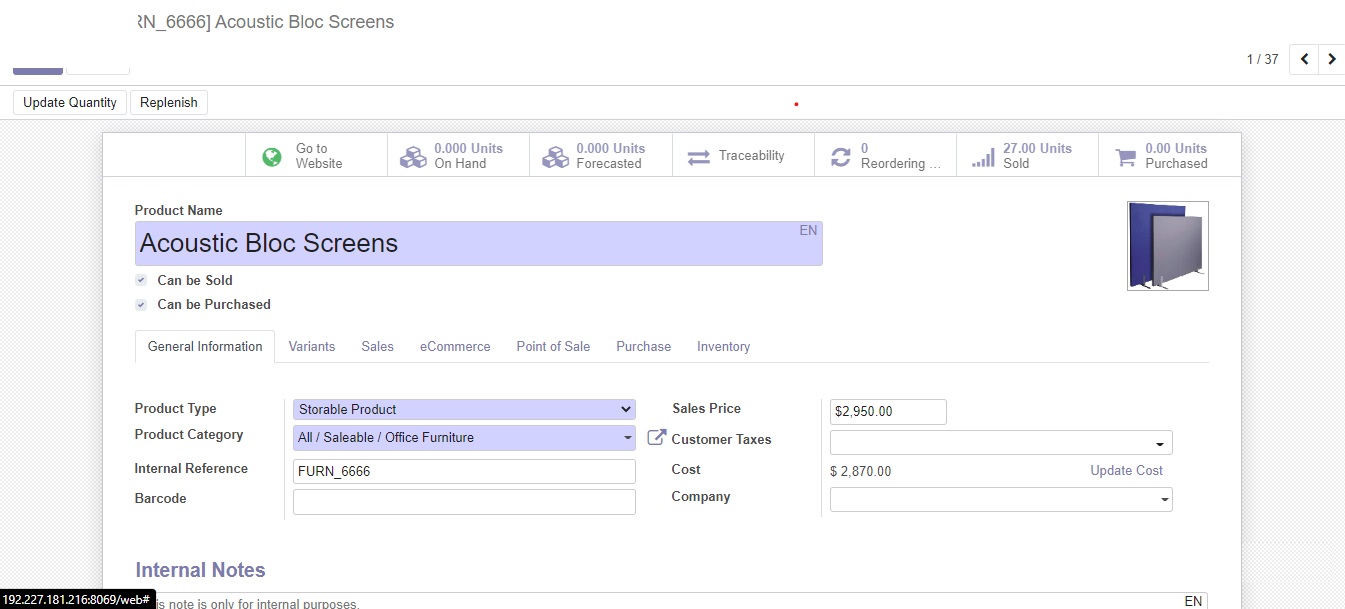
Under the "General Information" tab shown above, you can edit the "Company" field to select the company to which this product belongs from the drop-down list.
Step 4: Reporting
In a multi-company setup in Odoo, you can display separate reports for each company. To demonstrate this, we will navigate to Sales -> Reporting -> Sales. This will display the sales report of the current company as shown below.
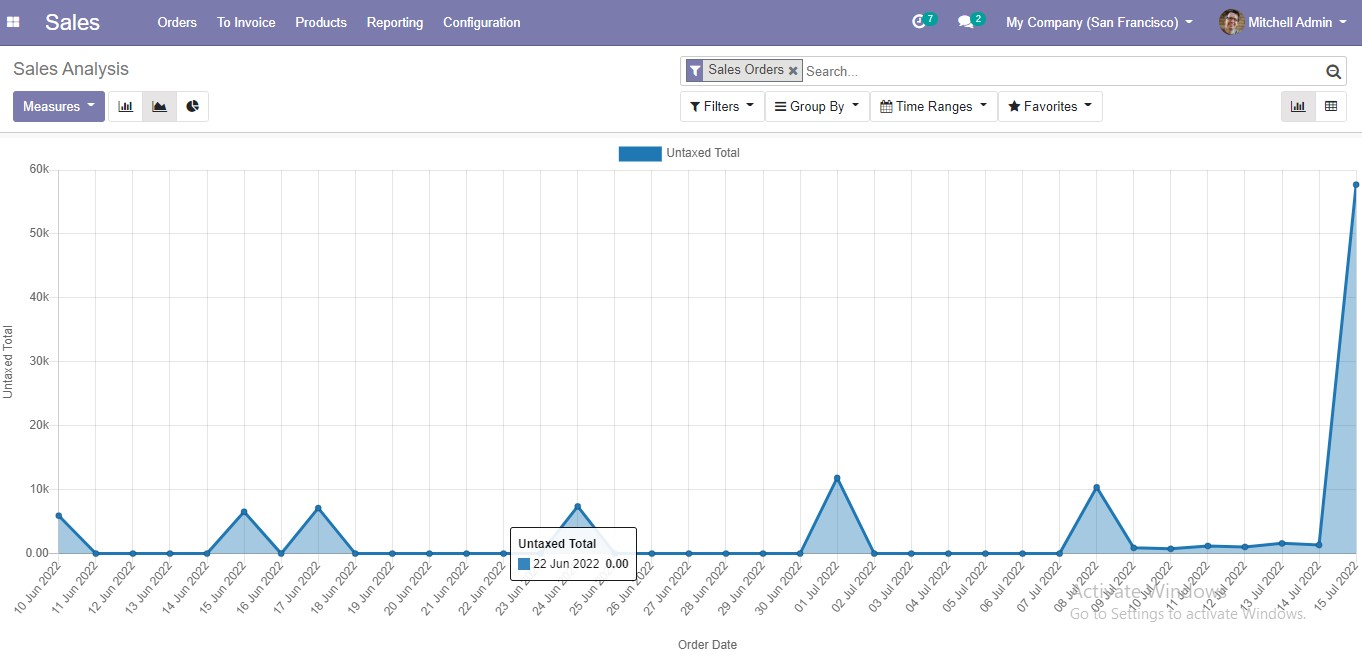 On the top right-hand side of the page, you will see the current company indicated. You can click on this drop-down list to select a company from the list. Once you select a different company, Odoo will generate a sales report for the newly selected company.
It should be noted that this article only provides the basics of setting up multiple companies in one Odoo instance. To get a full multi-company setup, please contact here or through live chat.

