This article will outline how to add a Windows device to the Acronis Cyber Protect customer's control panel via the installation of an agent to the Windows machine.
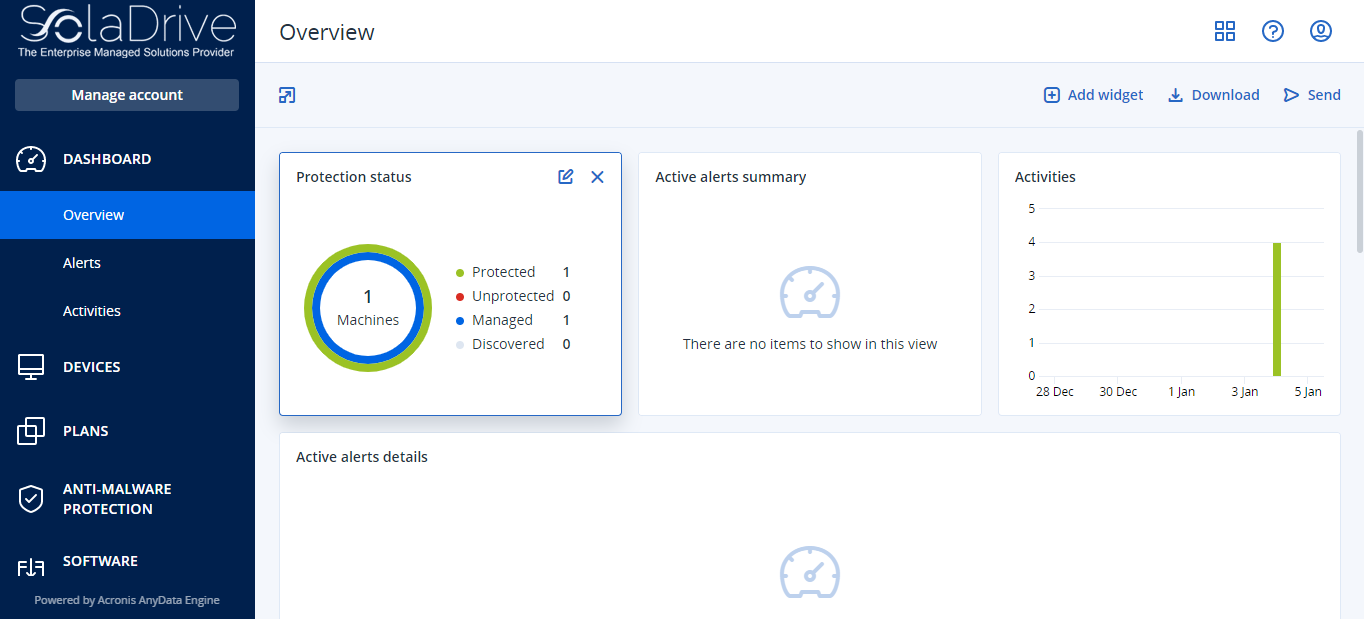
When you log in to your Acronis Customer's control panel, you will see the screen below.
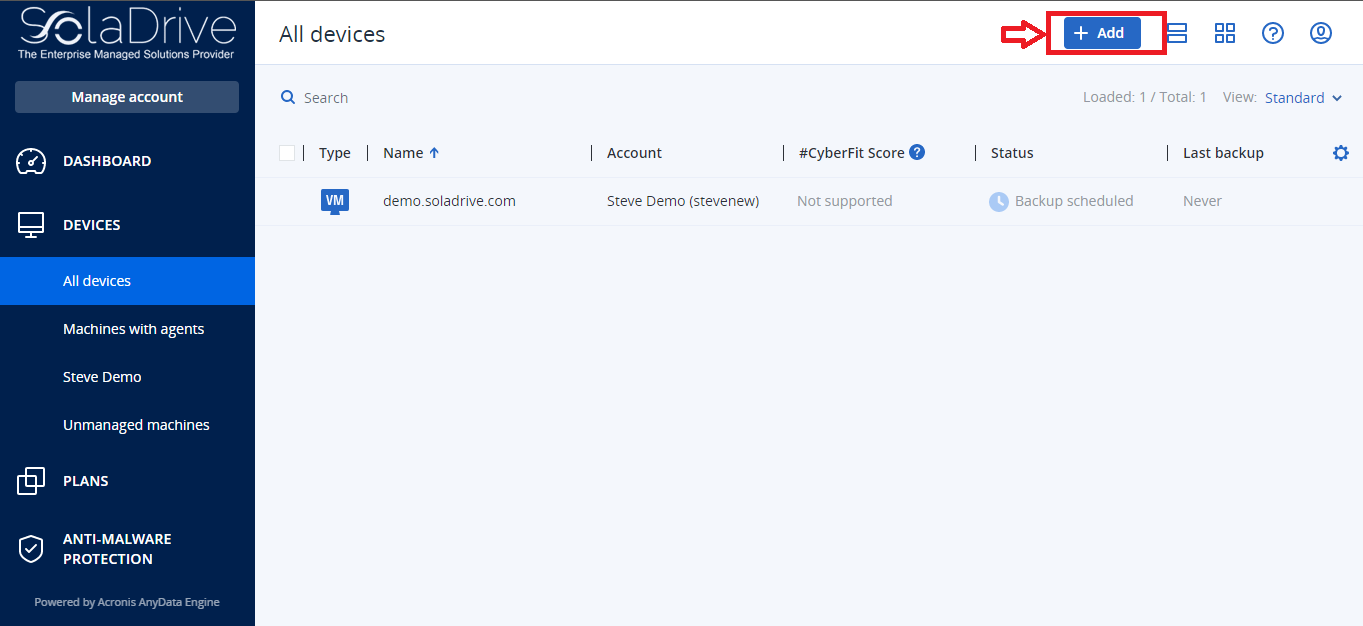
On the left-hand side panel, click on the "Devices" tab then click on "All Devices" to bring up a list of all the added devices. On the upper right-hand side corner, click on the "Add" button as shown below.
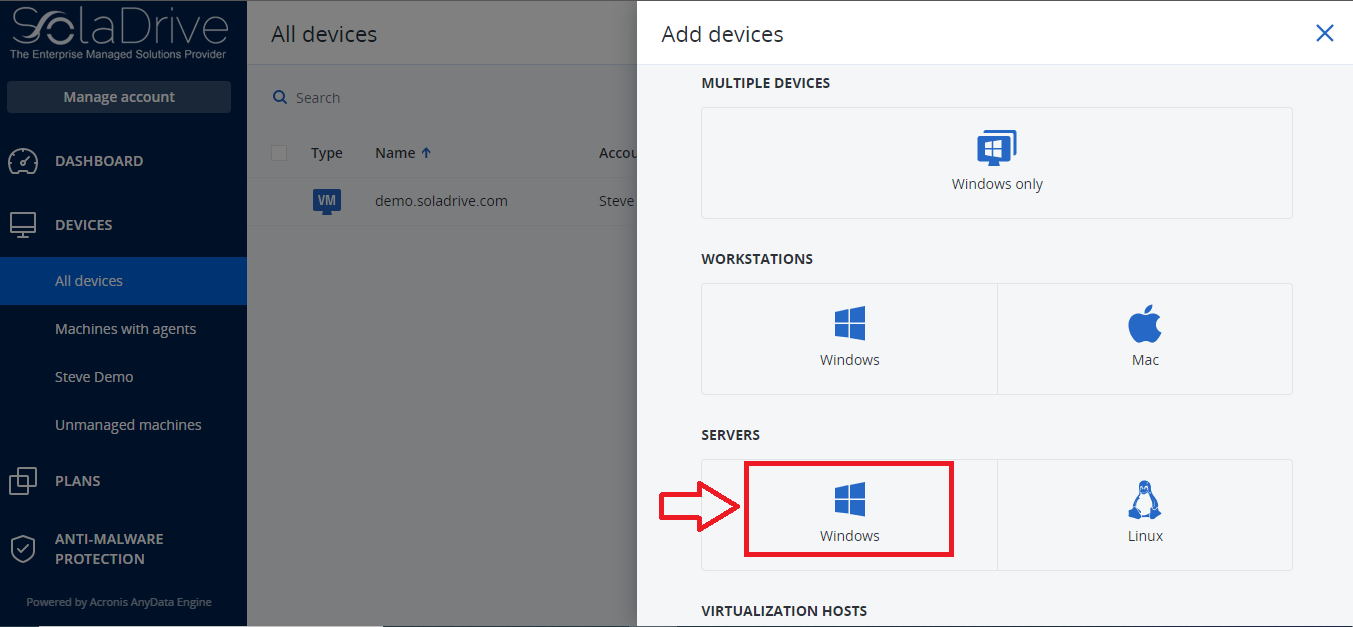
This will bring up all the possible agents that are available for download from this system. In this particular case, we will click on the "Windows Server" version as shown below.
When you click on it, the download will start automatically. You will also see installation instructions on the screen as the download is ongoing. You need to be logged in as the administrator to be able to install the downloaded agent into your Windows machine. When you click on the downloaded file, you will see the agent installation interface below.
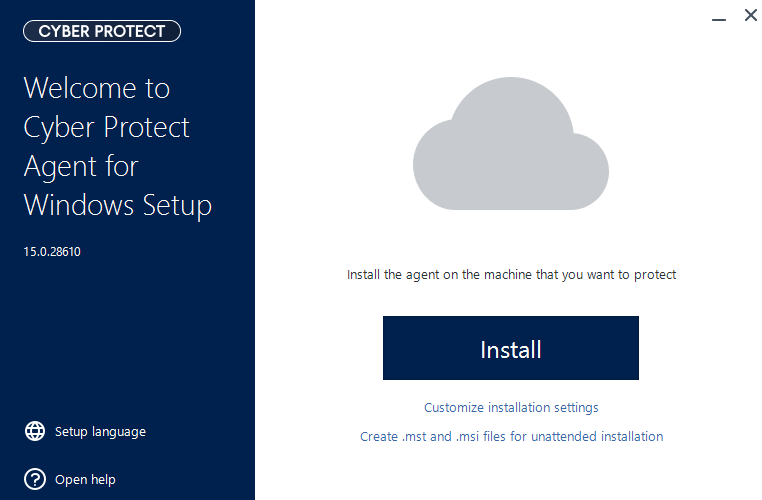
You will see a few choices of how you can install the agent into your Windows machine. The most common is by clicking the big "Install" button to install the agent with all the default configurations. If you need a custom installation, click on "Customize Installation Settings" below the "Install" button. This option gives you more control over what components to install, usage of custom registration settings, custom installation path, selection of which user account to use with the installation, and settings for any proxy server that might be configured within your network. See the image below.
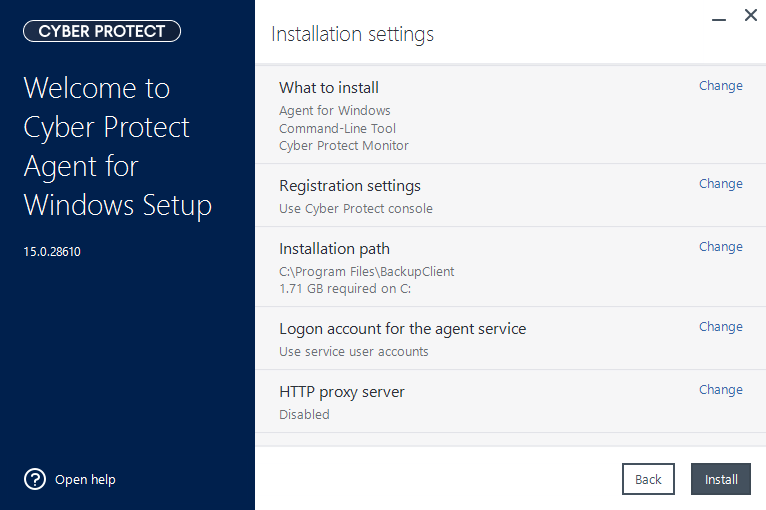
By default, the components being installed are an Agent for Windows, a Command-line tool, and a Cyber Protect Monitor. However, we could also install an agent for data loss prevention, a bootable media builder, or an agent for antimalware protection and URL filtering. We can also install agents for specific applications on the Windows machine like Exchange, SQL, and Active Directory. The last option is to create '.mst' and '.msi' files for unattended installation. When you click the install button, the agent installer will download the remaining installation files and this process may take some time depending on your internet connection speed. When the download is complete, the installation will take place automatically.
When the installation is complete, you will see a screen to register your machine. When you click on "Register Machine", you will be brought back to the Acronis Control Panel where you will be presented with a "Device Registration Interface" with a registration code for your new device. Click on the "Confirm Registration" button to complete the device registration process. You will see a success message. After clicking Okay, you will now see your Windows device on the list of devices registered to the Acronis Cyber Protect console.
Congratulations! You have registered a new device. However, we have not applied any protection plan to the new device.


